Required Fields Tutorial
In this tutorial, you'll learn how to make a signup form that uses conditional logic to ensure that the user has completed all required fields.
1. Widget and Page Setup
Create a Signup Form
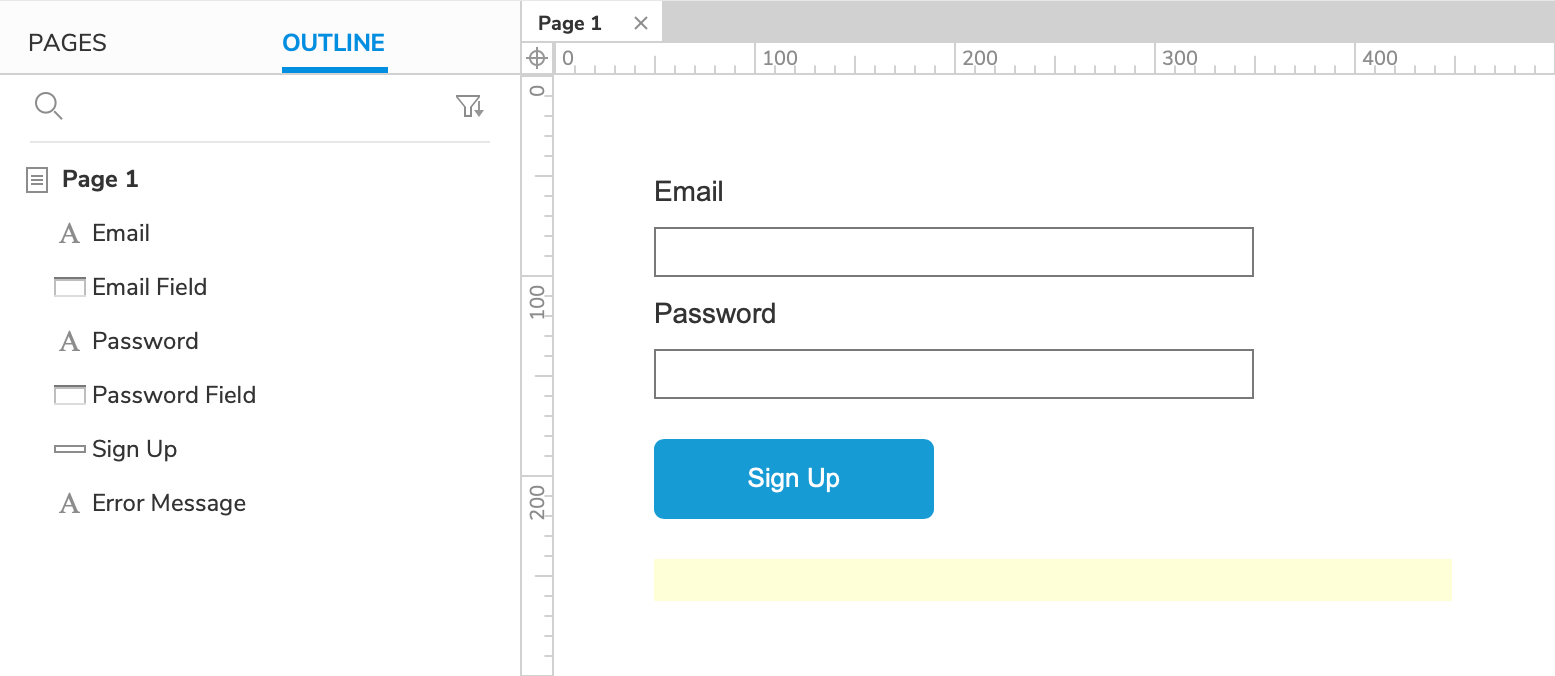
- Open a new RP file and open Page 1 on the canvas.
- Drag two text field widgets onto the canvas. Name one text field Email Field and the other Password Field . (You can optionally label each with a label widget.)
Tip To mask the Password Field's text, set its input type to Password.
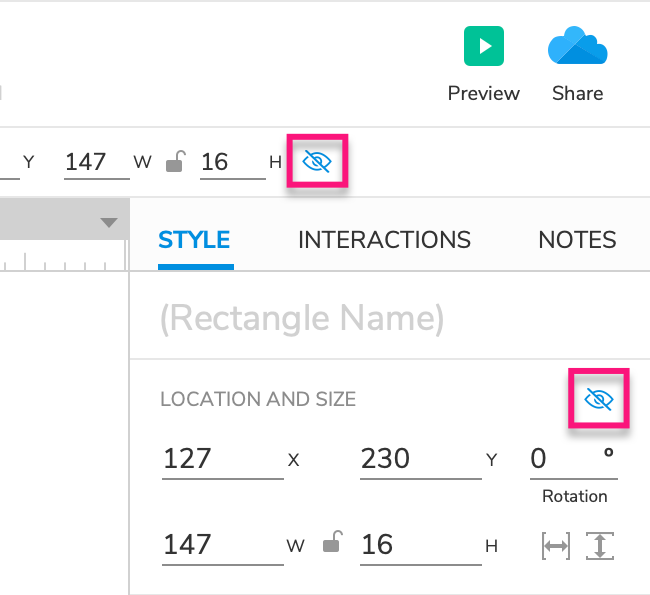
- Change the error message's font color to red, and hide it by clicking the Hidden icon in the style toolbar or the Style pane.
Add a Successful Signup Page
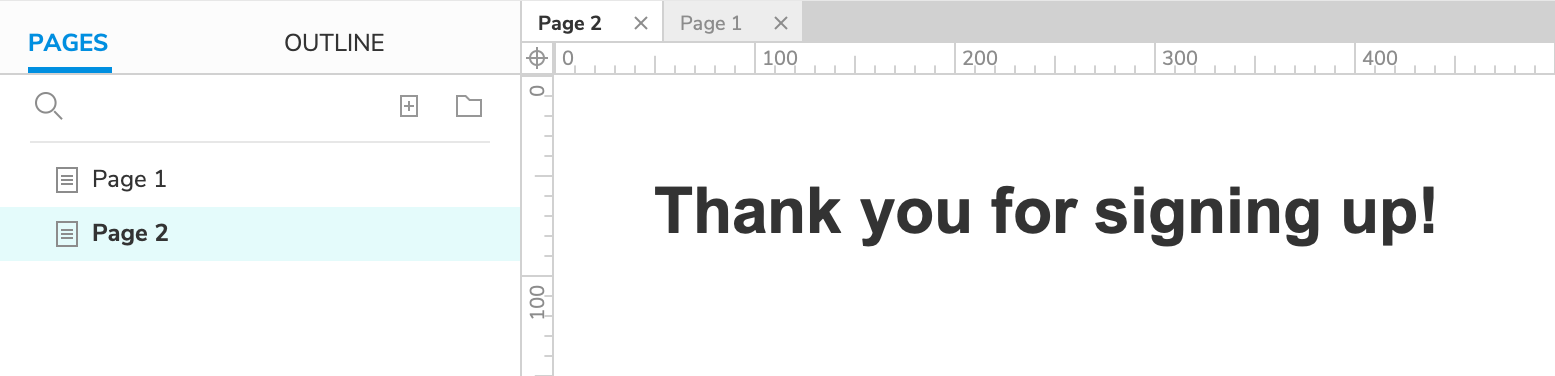
- Add a new page to the project and open it on the canvas.
- Drag a Heading 1 widget onto the canvas and set its text to Thank you for signing up!
2. The Successful Signup Case
Link to the Second Page
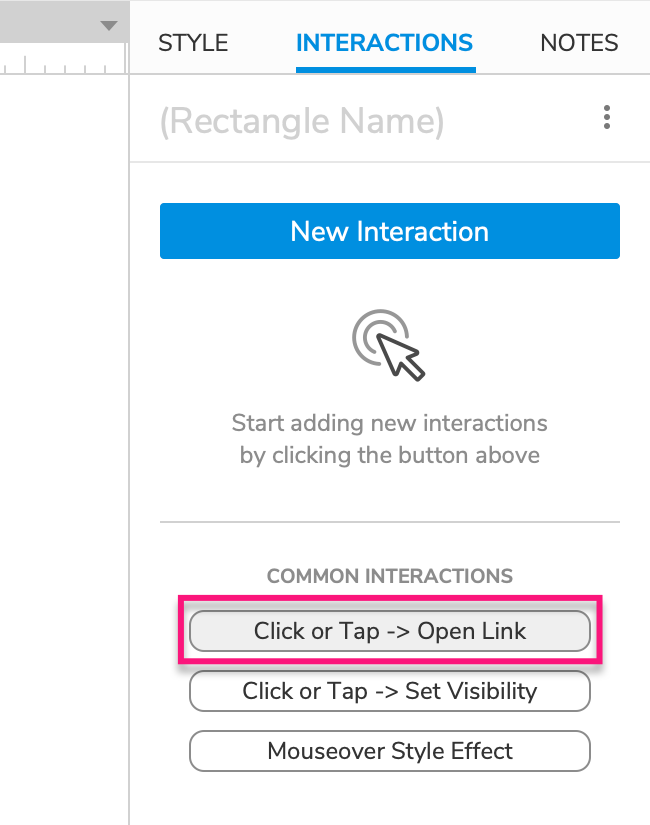
- Select the signup button and click Click or Tap → Open Link in the Interactions pane.
- Select Page 2 in the dropdown that appears, and click OK.
Add a Condition That Validates the Text Fields
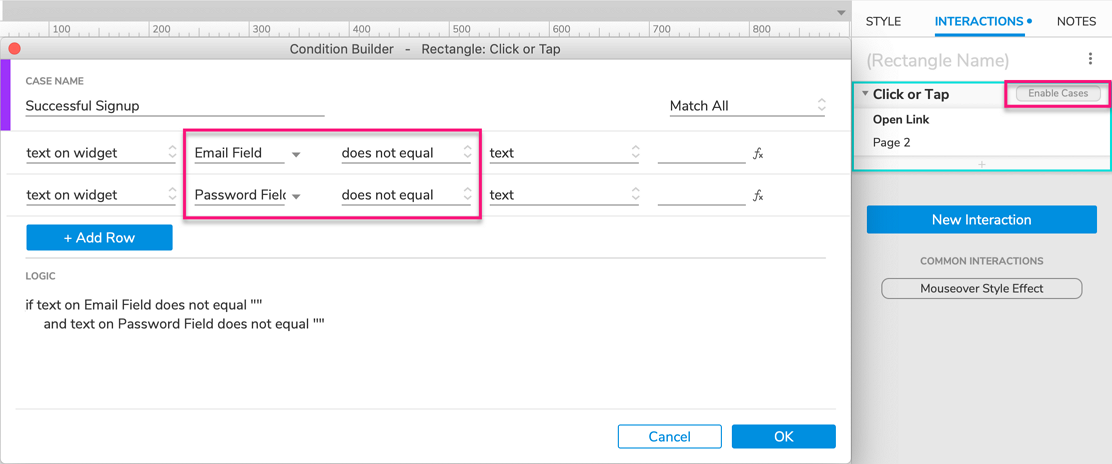
- Hover over the Click or Tap heading in the Interactions pane and click Enable Cases to the right.
- In the Condition Builder dialog that appears, name the case Successful Signup and click Add Logic.
- In the condition row that appears, select the Email Field text field in the second dropdown and select does not equal in the third.
- Click Add Row to add another conditional statement. Select the Password Field text field in the second dropdown and select does not equal in the third. The summary at the bottom of the dialog should read: If text on Email Field does not equal "" and text on Password Field does not equal "" . This condition will be met only if both text fields contain some text when the signup button is clicked.
- Click OK to close the Condition Builder.
3. The Unsuccessful Signup Case
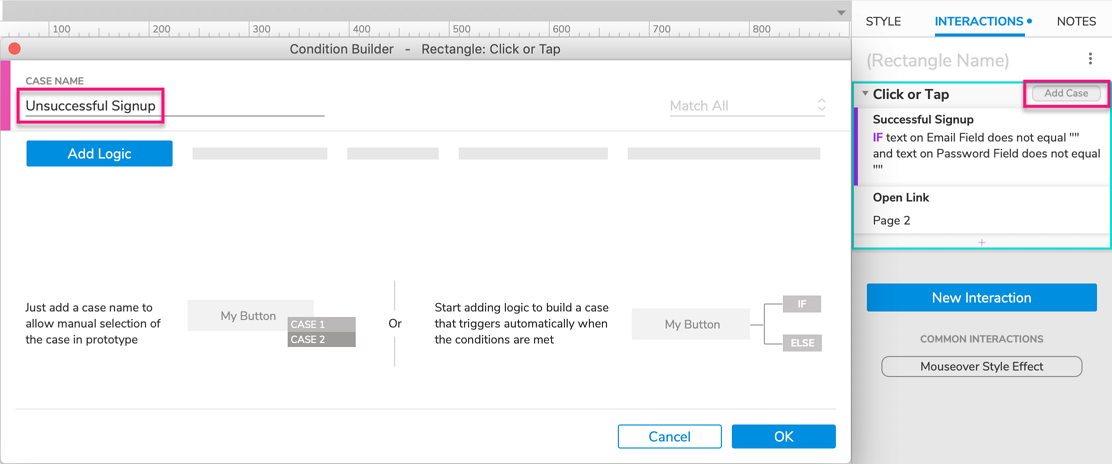
- With the signup button selected, hover over the Click or Tap heading in the Interactions pane and click Add Case to the right.
- In the Condition Builder dialog that appears, name the new case Unsuccessful Signup and click OK without adding any logic.
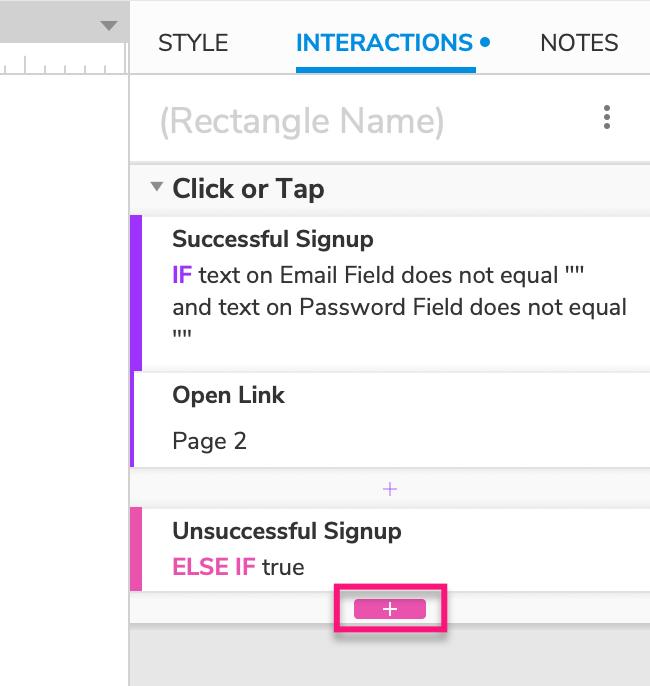
- Click the Insert Action icon below the new case heading in the Interactions pane.
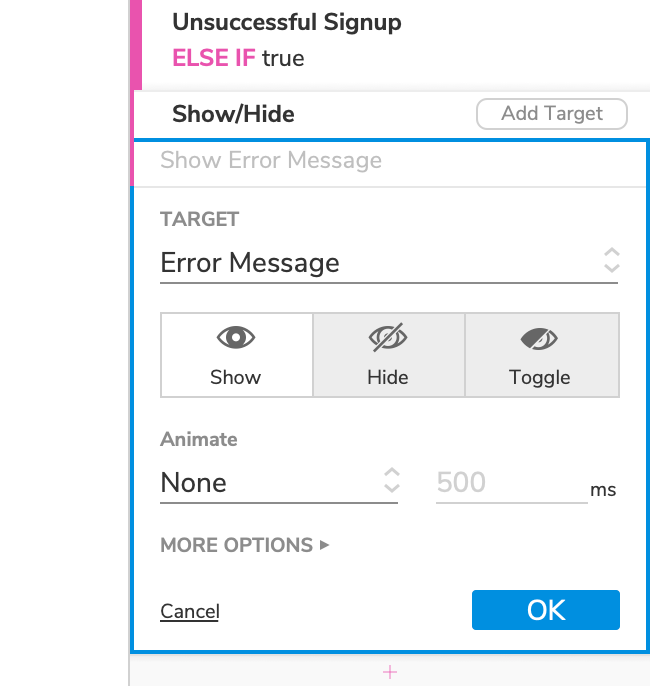
- Select Show/Hide in the list that appears, and target the Error Message widget. Leave Show selected and click OK.
Note Notice that even though we didn't set up a condition for this case, it has the condition ELSE IF true . This case, also known as a "default" case, will fire if the first case's condition doesn't pass (if one or both text fields are blank).
4. Preview the Interaction
- Preview the page and click the signup button. The error message should appear since the text fields are blank.
- Enter some text into one of the text fields and click the signup button again. The error message should still be visible since one of the text fields is still blank.
- Finally, enter some text in the second text field and click the signup button again. You should now be directed to Page 2 with the successful signup message.
Additional Information and Tips
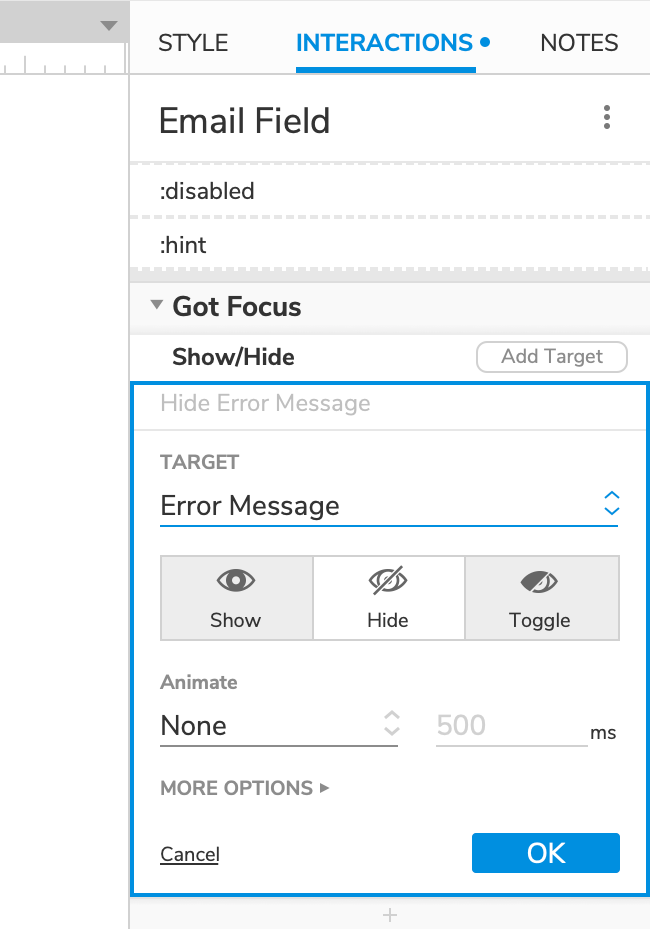
Hide the Error Message When the Text Fields Are Focused
If you would like the error message to be hidden again when the user clicks on one of the text fields, set up a Show/Hide action under the Got Focus event for each text field.
Stay Connected
Sign up to receive Axure tutorials and news. You can unsubscribe at any time.
